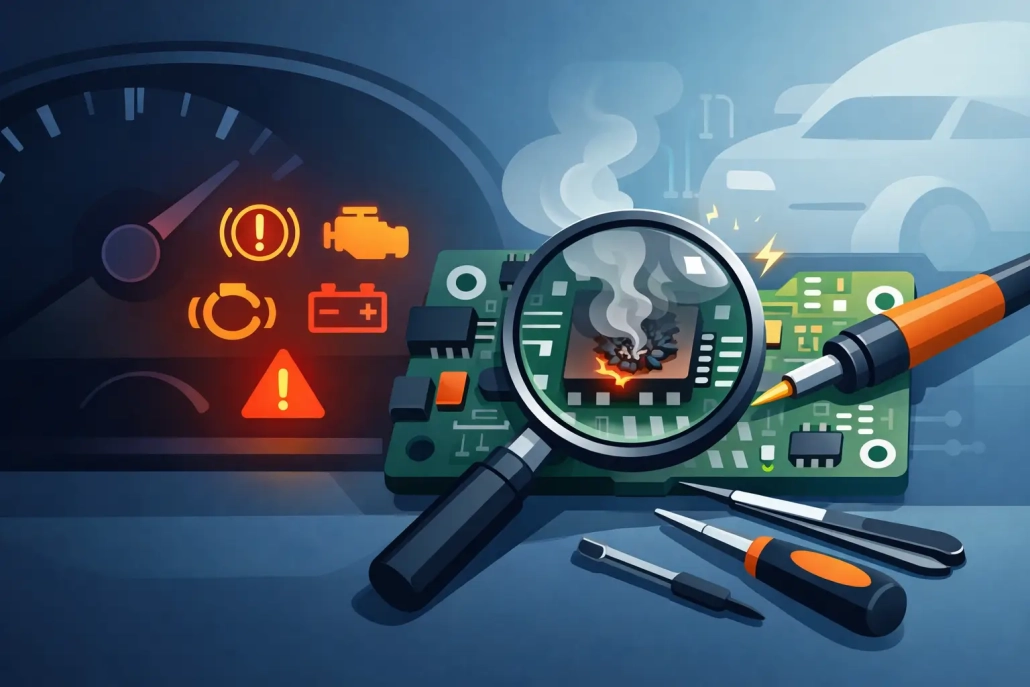
Warning Light Backlight Repair: What Fails and Why
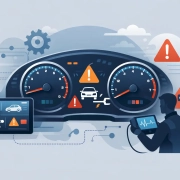
A warning symbol can still be working electrically while remaining almost impossible to see at night. That is where warning light backlight repair becomes necessary. If one area of the instrument cluster is dim, several warning lamps have lost illumination, or the dashboard is completely dark with the ignition on, the fault may be inside the cluster rather than with the vehicle’s warning system itself.
For drivers, this is more than an annoyance. A poorly illuminated dashboard can hide important alerts and make the vehicle harder to use safely after dark. For garages, it can create a difficult diagnosis: the vehicle may report no stored fault codes, yet the customer can clearly see that the cluster is not displaying correctly.
What does warning light backlight repair involve?
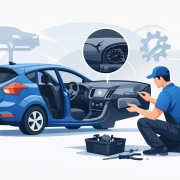
Most modern instrument clusters use small surface-mounted LEDs and electronic driver circuits to illuminate warning symbols, gauges and display areas. Unlike older dashboards with replaceable bulbs, manufacturers solder these components directly to the circuit board. Accessing them normally requires careful removal of the cluster, dismantling the housing and testing the electronics at component level.
Warning light backlight repair focuses on restoring the illumination without replacing the complete instrument cluster. Depending on the fault, this can mean replacing failed LEDs, repairing damaged tracks or solder joints, correcting a fault in the illumination driver circuit, or addressing heat damage on the circuit board.
The objective is simple: return the original unit with the correct brightness and operation, while retaining the vehicle’s existing mileage, configuration and coding. This is often preferable to fitting a replacement dashboard that may need programming, mileage correction or security matching before it will work correctly.
Signs the backlight fault is inside the cluster
A dim dashboard does not automatically mean the instrument cluster has failed. Start with the obvious checks: dashboard dimmer settings, relevant fuses, battery condition and charging voltage. If the vehicle has recently had electrical work, water ingress or a flat battery, these details can also help pinpoint the cause.
However, a cluster fault becomes more likely when the problem affects only one section of the display or warning lights. Typical symptoms include a warning symbol that disappears at night or a dark patch across one gauge. Some lights also react to bumps or fade as the cabin warms.
Some vehicles develop combined faults. The warning lights may be dim, the LCD may lose pixels, needles may behave erratically, or the cluster may intermittently fail to power up. These symptoms can share a cause, particularly where ageing solder joints, failed components or heat-related damage affect the circuit board.
Backlight failure is not the same as a warning light fault
Drivers must distinguish between an active warning lamp and a symbol with failed illumination. For example, a fault elsewhere on the vehicle may trigger the engine management warning. A failed backlight or LED can hide the symbol even when the cluster receives a command to show it.
The same applies if every warning lamp appears permanently lit. That may be a communication, power supply or internal cluster issue rather than a collection of separate vehicle faults. Proper diagnosis prevents unnecessary replacement of sensors, control units or the complete dashboard.
Common causes of dim or failed warning light illumination
Heat is one of the main causes. Instrument clusters sit behind the dashboard, where they experience years of temperature changes. Normal vehicle use repeatedly heats and cools the LEDs, driver chips and solder joints. Over time, an LED can fail, a solder joint can crack, or a component can become unstable once warm.
Voltage issues can also contribute. A weak battery, poor earth connection, alternator fault or jump-starting error can put stress on sensitive dashboard electronics. The cluster may continue working at first, but extreme heat can push weak components beyond their limit.
Water ingress is another concern. Condensation or a leaking windscreen can affect connectors and circuit boards, while a drink spill around the dashboard may cause damage that only becomes apparent later. In these cases, the repair must address corrosion and contamination as well as the failed lighting components.
Finally, previous repair attempts can complicate the job. Incorrect LEDs, excessive heat during soldering, lifted circuit tracks and poorly matched replacement parts can produce uneven illumination or create additional faults. Modern clusters are repairable, but they need the right equipment and experience.
Why replacing the whole cluster is not always the answer
A main dealer replacement may suit a unit with severe physical damage or unavailable repair parts. But for a lighting fault, replacing an entire instrument cluster can be disproportionate. The replacement part may be costly, it may need ordering, and the vehicle can require coding and mileage programming before it is usable.
There is also the question of originality. The instrument cluster carries part of the vehicle’s history and often connects to its electronic security systems. Keeping the original unit avoids unnecessary complications and helps preserve the vehicle exactly as it is.
Specialist repair usually costs less and takes less time when the problem affects only the cluster electronics. At Cartronix, technicians test the original unit with specialist equipment and emulators where required. They repair it at component level and check it before return. This approach keeps the original mileage and coding instead of transferring the problem to a replacement unit.
What warning light backlight repair should include
The quality of the diagnosis matters as much as the repair itself. A dashboard can look correct on the bench yet fail in the vehicle when testing misses a power, communication or thermal issue. Equally, replacing one failed LED without checking the surrounding circuit can lead to a repeat fault.
A professional warning light backlight repair should begin with confirmation of the reported issue. Technicians inspect the unit for previous work, liquid damage and overheating. They then test the relevant illumination circuits instead of assuming that every dark area has the same cause.
Technicians replace failed components with suitable parts and check the affected area for consistent brightness. Finally, the technician function-tests the cluster before return. Where a unit has related faults, such as pixel loss, gauge issues or intermittent power-up, it is sensible to identify these at the same time. Repairing the cluster once is generally better than removing it again a few weeks later.
Postal repair or while-you-wait appointment?
The best option depends on the vehicle and the customer’s required turnaround. A postal repair suits customers and garages anywhere in the UK. It works best when a trained person can remove the cluster safely and the customer can keep the vehicle off the road during the repair. It also gives workshops a straightforward way to send specialist electronic work out without losing control of the customer job.
A while-you-wait appointment can suit local customers who need to minimise downtime. For suitable bookings, the team removes, repairs and refits the cluster during the visit. Before removing any cluster, check whether the vehicle needs the unit connected for immobiliser, mileage or warning-system functions, and avoid driving the vehicle with key dashboard information unavailable.
Questions to ask before booking a repair
Give the repairer as much detail as possible. The vehicle make, model, year, registration and exact symptom all help. It is useful to explain whether the fault is permanent or intermittent, whether it changes with the dimmer control, and whether it began after a flat battery, jump start, water leak or other electrical issue.
For trade customers, include any diagnostic findings, known fault codes and whether communication with the instrument cluster is present. This does not replace specialist testing, but it saves time and helps separate a cluster fault from a vehicle-side wiring or control module issue.
Avoid services that offer only a quick bulb change. On many 1996-onwards vehicles, there is no conventional bulb to replace. The work is electronic repair, and the result depends on correct component selection, controlled soldering and thorough testing.
How to protect the cluster after refitting
If poor charging voltage, water ingress or a weak earth caused the failure, correct that underlying issue. Otherwise, the same conditions can damage the repaired cluster again. A battery and charging-system check is a sensible precaution after any dashboard electrical fault.
Refit the cluster carefully. Handle trim clips, connectors and screws correctly. Do not press or force the display lens or needle faces. Once installed, confirm the warning lamp self-test, illumination level, gauges, LCD functions and any steering-wheel display controls before handing the vehicle back.
A dim warning lamp is easy to ignore until it masks something the driver needs to see. Repairing the original cluster promptly restores clear night-time visibility, avoids unnecessary replacement costs and keeps the vehicle’s dashboard working as it should.