
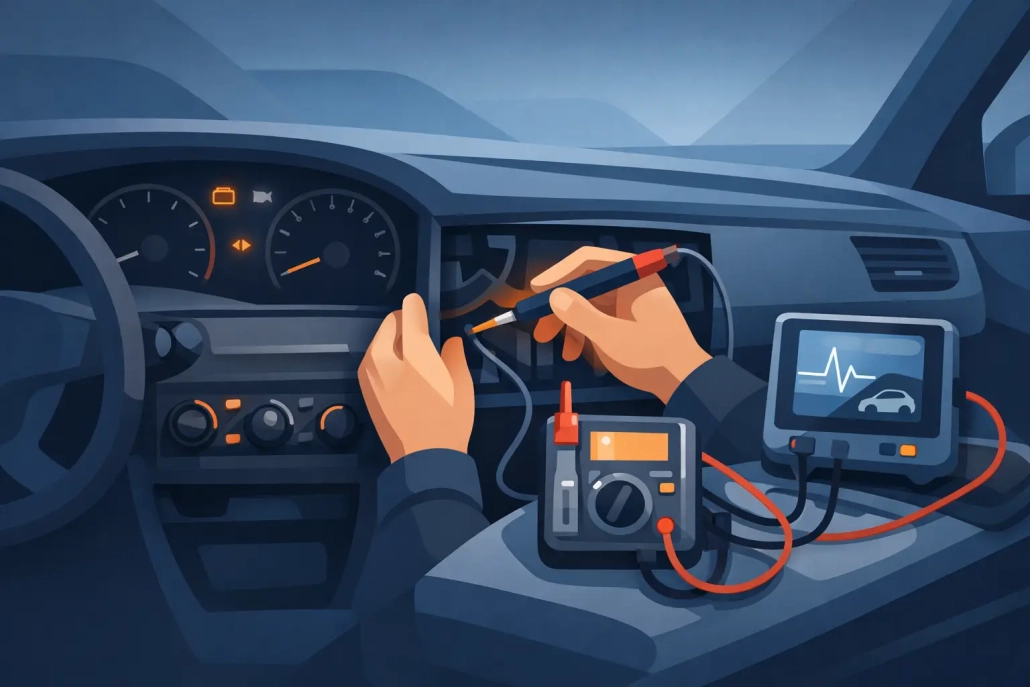
How to Repair Dim Dash Lights Without Guesswork
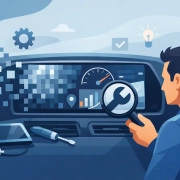
A dashboard that is difficult to read after dark is more than an irritation. If you cannot clearly see your speed, fuel level, warning messages or temperature gauge, it can affect safe driving. Knowing how to repair dim dash lights starts with identifying whether the fault is a simple illumination setting, a vehicle wiring issue or an internal instrument cluster failure.
On modern cars, vans and motorhomes, a blown bulb does not always cause dim dash lights. Many instrument clusters contain surface-mounted LEDs, regulated power supplies and display circuits within the original unit. Replacing parts without proper diagnosis can waste time, create further faults and, in some cases, leave the vehicle with warning lights or communication errors.
Check the simple causes first
Before removing the dashboard or booking a repair, rule out the obvious. Someone may have knocked the dimmer control down, particularly when its wheel sits beside the steering column. Some cars also adjust interior brightness automatically through a light sensor, so the display may appear different in daylight, shade and darkness.
Check these four areas before assuming the cluster itself has failed:
- Set the dash illumination dimmer to full brightness and confirm that it changes the lighting level.
- Switch on the sidelights or headlights because some dashboards only reach full brightness with exterior lights active.
- Relevant fuses are intact and show no signs of heat damage or corrosion.
- Other interior lighting, such as heater controls, radio buttons and window switches, is working normally.
If every illuminated control in the cabin is dim or dead, the issue may sit outside the instrument cluster. A fuse, earth connection, lighting control module, headlamp switch or vehicle body control system could be responsible. If only the dashboard shows the fault, inspect the cluster or its connector first.
Why dash lights become dim
The cause depends on the vehicle’s age, design and symptoms. Earlier dashboards may use replaceable filament bulbs for backlighting. A failed bulb can leave one part of the speedometer or rev counter darker than the rest. On newer vehicles, manufacturers commonly solder LEDs to the circuit board. These can fail, but a weak LED is not necessarily the root cause.
Repeated heat cycles can damage solder joints, degrade electronic components or cause a power supply circuit to deliver the wrong voltage. A display may look faint across the whole panel or flicker as the cabin warms. It may also return briefly after the driver restarts the car. These are useful clues for diagnosis.
Pixel displays and LCD screens can also appear dim because of a failing backlight, ribbon connection or display driver. This is particularly common where the central information screen loses contrast, develops missing lines or becomes unreadable in hot weather. A separate warning lamp fault may point to failed LED channels or an internal circuit fault rather than a general brightness problem.
How to repair dim dash lights safely
If the dimmer, exterior-light setting and fuses are all correct, avoid treating the dashboard as a simple bulb-change job. Instrument clusters often contain the vehicle mileage, coding, immobiliser data and configuration information. Fitting a used unit can introduce mileage discrepancies, warning messages and compatibility problems, even if it physically fits.
A sensible first step is to confirm the fault pattern. Does the entire cluster dim, or only one gauge? Does it change when you switch on the headlights? Are warning lights, the LCD display and gauge needles otherwise working correctly? Does the fault occur constantly or only after a period of driving? Clear answers help separate an illumination problem from a wider cluster failure.
Where a vehicle uses replaceable bulbs and the rear of the cluster is accessible, a competent technician may be able to replace the failed lamps. Use the correct bulb type and rating. A higher-wattage bulb is not a fix for a dim panel and may overheat the housing or create uneven illumination.
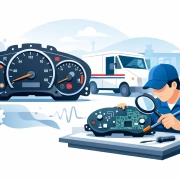
For LED-equipped clusters, circuit-board repair requires the correct equipment and experience. It may involve testing LED outputs, checking voltage regulation, replacing failed components and repairing damaged tracks or solder joints. A technician should assess the unit properly instead of changing LEDs at random.
When the fault needs specialist diagnosis
A specialist repair is usually the right route when the dashboard has widespread dimming, intermittent operation, failed warning lamps, pixel loss or a screen that is fading alongside other faults. These symptoms often share an internal cause, and repairing the original unit is normally preferable to replacement.
Professional diagnostics can test the cluster outside the vehicle using dedicated emulators and controlled power supplies. This helps confirm whether the fault is inside the unit before repairs begin. It also avoids replacing a dashboard when the actual issue is a vehicle feed, CAN communication fault or connector problem.
Original-unit repair preserves the existing mileage and coding where possible. That matters on many Audi, Aston Martin, Fiat, Ford and Alfa Romeo applications, as well as a wide range of other vehicles from 1996 onwards. It can also be quicker and more economical than ordering a new dealer-supplied cluster, then paying for programming and installation.
For garages, accurate diagnosis prevents a common and costly mistake: condemning the cluster without checking its power, earth and network inputs. For vehicle owners, it means the repair addresses the actual fault rather than masking it with a second-hand part of unknown history.
Repair or replace the instrument cluster?
Severe water damage, physical breakage or unavailable repair parts can make replacement necessary. Even then, it is worth establishing the full condition of the original cluster first. A replacement unit may require coding, component protection procedures or mileage correction carried out lawfully and transparently for the vehicle.
Repair often offers the better option when the original cluster only has dim backlighting, failed LEDs, LCD faults, gauge problems or intermittent operation. You retain the dashboard designed for the vehicle, avoid unnecessary coding complications and reduce downtime. The best choice still depends on the exact make, model, year and fault, which is why a fault-specific assessment is more useful than a generic answer.
Avoid making the problem worse
Do not spray electrical cleaner into the front of the cluster, force needles off the gauges or use household bulbs as substitutes. Disconnecting and reconnecting the dashboard repeatedly can also create additional fault codes, while poor soldering can permanently damage delicate circuit tracks.
If you remove the cluster yourself, disconnect the battery only in line with the vehicle manufacturer’s procedure and take care around steering-column trims and airbag components. Photograph connector positions, do not pull on wiring, and keep the unit dry and protected from static damage. In many cases, leaving removal to an experienced workshop is the lower-risk option.
The need to repair dim dash lights rarely disappears on its own. If the simple checks do not restore normal brightness, a proper repair of the original unit can keep the vehicle readable, correctly coded and on the road without dealer replacement costs. Cartronix can assess instrument cluster faults for postal customers nationwide or through while-you-wait workshop appointments, with repairs backed by a lifetime warranty for as long as you own the vehicle.







Trackbacks & Pingbacks
[…] vehicle, that recorded mileage remains with it. Common faults such as failed gauges, pixel loss, dim backlighting, cracked solder joints, power faults and LCD display issues do not normally require the mileage […]
Comments are closed.